|
Substituting old keytops with the latest molded plastic surface (parts) is a whole new look and relatively easy procedure for your keyboard. You will have to have one or more rim razors or thin bladed blades, any "touch cement" or PCV glue (other adhesives are also useful for this purpose, but these adhesives are fast, solid and do not need clamping, just as other adhesives do. Because you don't need to clamp you can remove keytops without cutting the keys of the piano, there is a real advantage. Present keytops close-upLook like the piano keys in the pictures above? I hope not. I pray not. There is a workaround if you don't want the piano keys. You can remove the old keytops and replace them with new, durable keytops that will surely improve your piano appearance. The images are from an old plastic spinet with keytops that were cracked, broken and stained in this article. Old scratched, faded or absent ivory keytops are often often replaced by a new collection of plastics. Normally I would not recommend replacing keypads on an old spinet, because the piano 's monetary worth typically does not warrant the replacement cost. Yet in situations like these, the piano has a nostalgic value and always blends well with the interior of the house. The wood stick on which they are adhered has to be milled to accommodate the new keypads that are heavier than the old ones as old keytops are replaced. 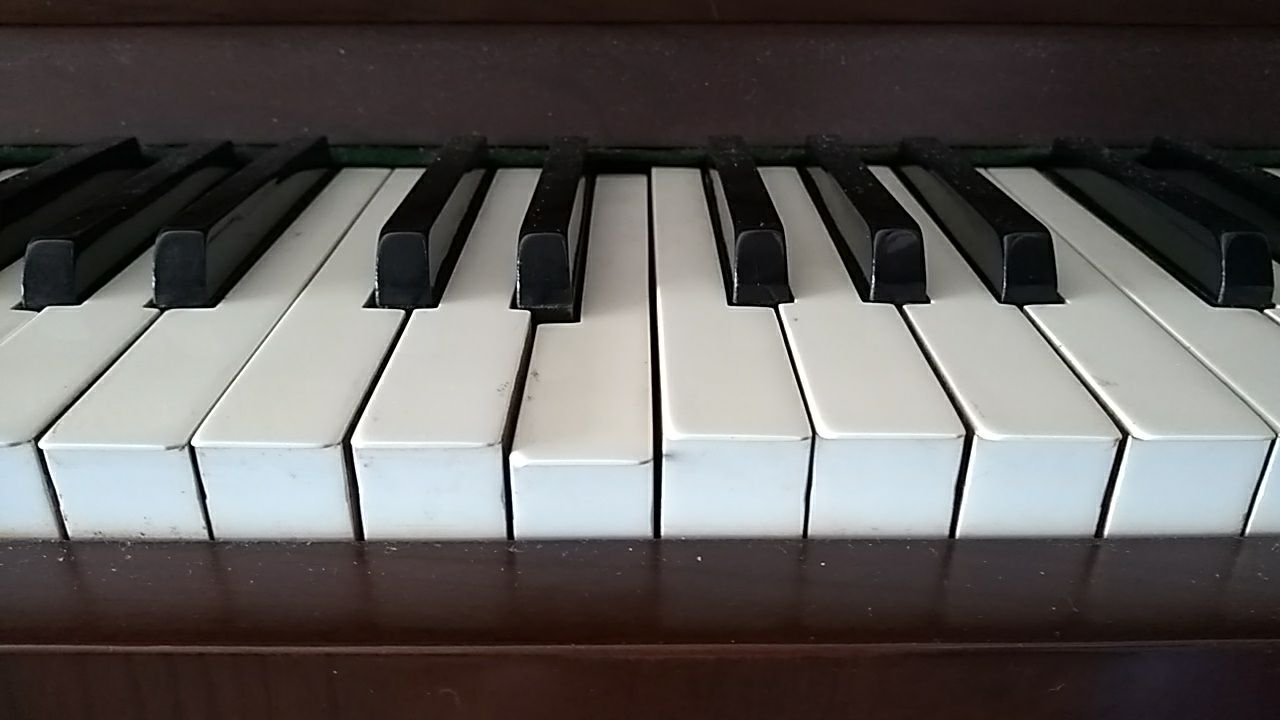 Phase 1: Cut Piano KeysKeep this in order as it is impossible to bring them together if they are all mixed up. If they fall out of control for whatever reason, it is best to number the buttons. https://www.youtube.com/watch?v=CSt-f6B0z6w Phase 2: Throw the old keyboards outUse a sharp chisel or knife to remove the old keytops. Phase 3: Sand LightSand the key surface gently to ensure that all the remaining old glue is eliminated and that the new keypads have a smooth surface. Schritt 4: Glue implementation Dispense on the top and fore side of the key a thin layer of PVC-E glue. Step 5: Lock New Keytop and LocationEnsure that the keytop sides are in line with the key sides. If the key is a little high, make sure it hangs over the excess key top, because this is the simplest place to file and looks nice. Step 6: Make Dry Cleaning and File Edges matchOvernight, let air. You can smooth any overhang with a flat metal file to make the key top fit your keys accordingly.
The sharp replacement technique is the same. If your new sharps are ebony wood, the simple old carpenter's glue like Elmer's will work fine in a pinch, but you have to hold the key firmly in place for 10 minutes, to let the adhesive settle. With any key material, touch cement is simpler. (NOT use hot, slow-drying glues like Elmer's if you replace an old ivory keyton on the key, as moisture causes ivory to warp). Give me an email or call if I can, if you have trouble fitting the keytops. Read More: How to Play Stride Piano
0 Comments
Nothing scares the hearts of piano players like the name of stride piano. This almost unlikely old style is like ragtime on steroids, driving pianists to the edge. The left hand alternates a deep rhythm, mostly played in tenths, with near middle chords, while the right hand supplies harmony, syncopations, notes, and runs. The total effect is an implacable eighth-note swing.  Simple Stride ExerciseWhat makes this method difficult is the need to leap a reasonable way to get from the bass note to the chord and back. And when you 're first practicing this method you want to minimise the gap you need to leap to minimise the difficulty of the chords. A good way to achieve so is by using tenth triads and direct tones. Choose a relatively simple song that uses a lot of 2-5's preferably when chords shift every half bar (like Satin Doll) and learn to play as follows: For the chord play a broken 10th triad (root – 3rd & 5th) Play root notes for the V7 chord and switch to direct tones (root-3rd & 7th) 8 Help you learn this tutorial.1. I'm using rootless voicing chords. If you need more help in constructing these chords, test this entire tutorial on rootless piano chords. 2. A low bass note is struck on beats 1 and 3, and chords (toward the middle of the piano) are struck on beats 2 and 4. 3. You should apply the stride piano rhythmic pattern to virtually every jazz standard that's in 4/4. 4. This particular style will also fit well on other rock classics. Songs like The Beatles' "When I'm 64" or Elton John's "Bennie and the Jets." 5. To speed the tempo on the step piano and not drag, remember to keep your hands close to the keyboard. In other words, don't make the jumps wider gestures than they ought to be. It's slow and force you to lose your pacing. 6. The last chord I play is a D7 chord. I'm using a flat nine as a top extension so you might use either reference as an altered scale extension. 7. If you need more help learning jazz piano, see this huge list of other jazz piano lessons. 8. For a pretty fantastic and killer stage proof, checking out this Errol Garner picture. It's kind of an older trend or “retro” tone but really fun none less and less! Take a Listen toHave some of the pianists below listened for inspiration. Just be aware that some of these guys are very quick.
Teddy Wilson Art Tatum James P. Johnson Willie “The Lion” Smith Fats Waller Luckey Roberts Eubie Blake Donald Lambert Cliff Jackson Dick Wellstood Mary Lou Williams Thelonious Monk |
 RSS Feed
